Installation & Configuration
Welcome to the NexaWP Manager documentation. Find all the answers to your questions here.
Signing up on the platform
To get started with NexaWP Manager, click on the "Start free trial" button.
Fill out the registration form with your personal information. Once submitted, you will receive a confirmation email to activate your account.
Start free trial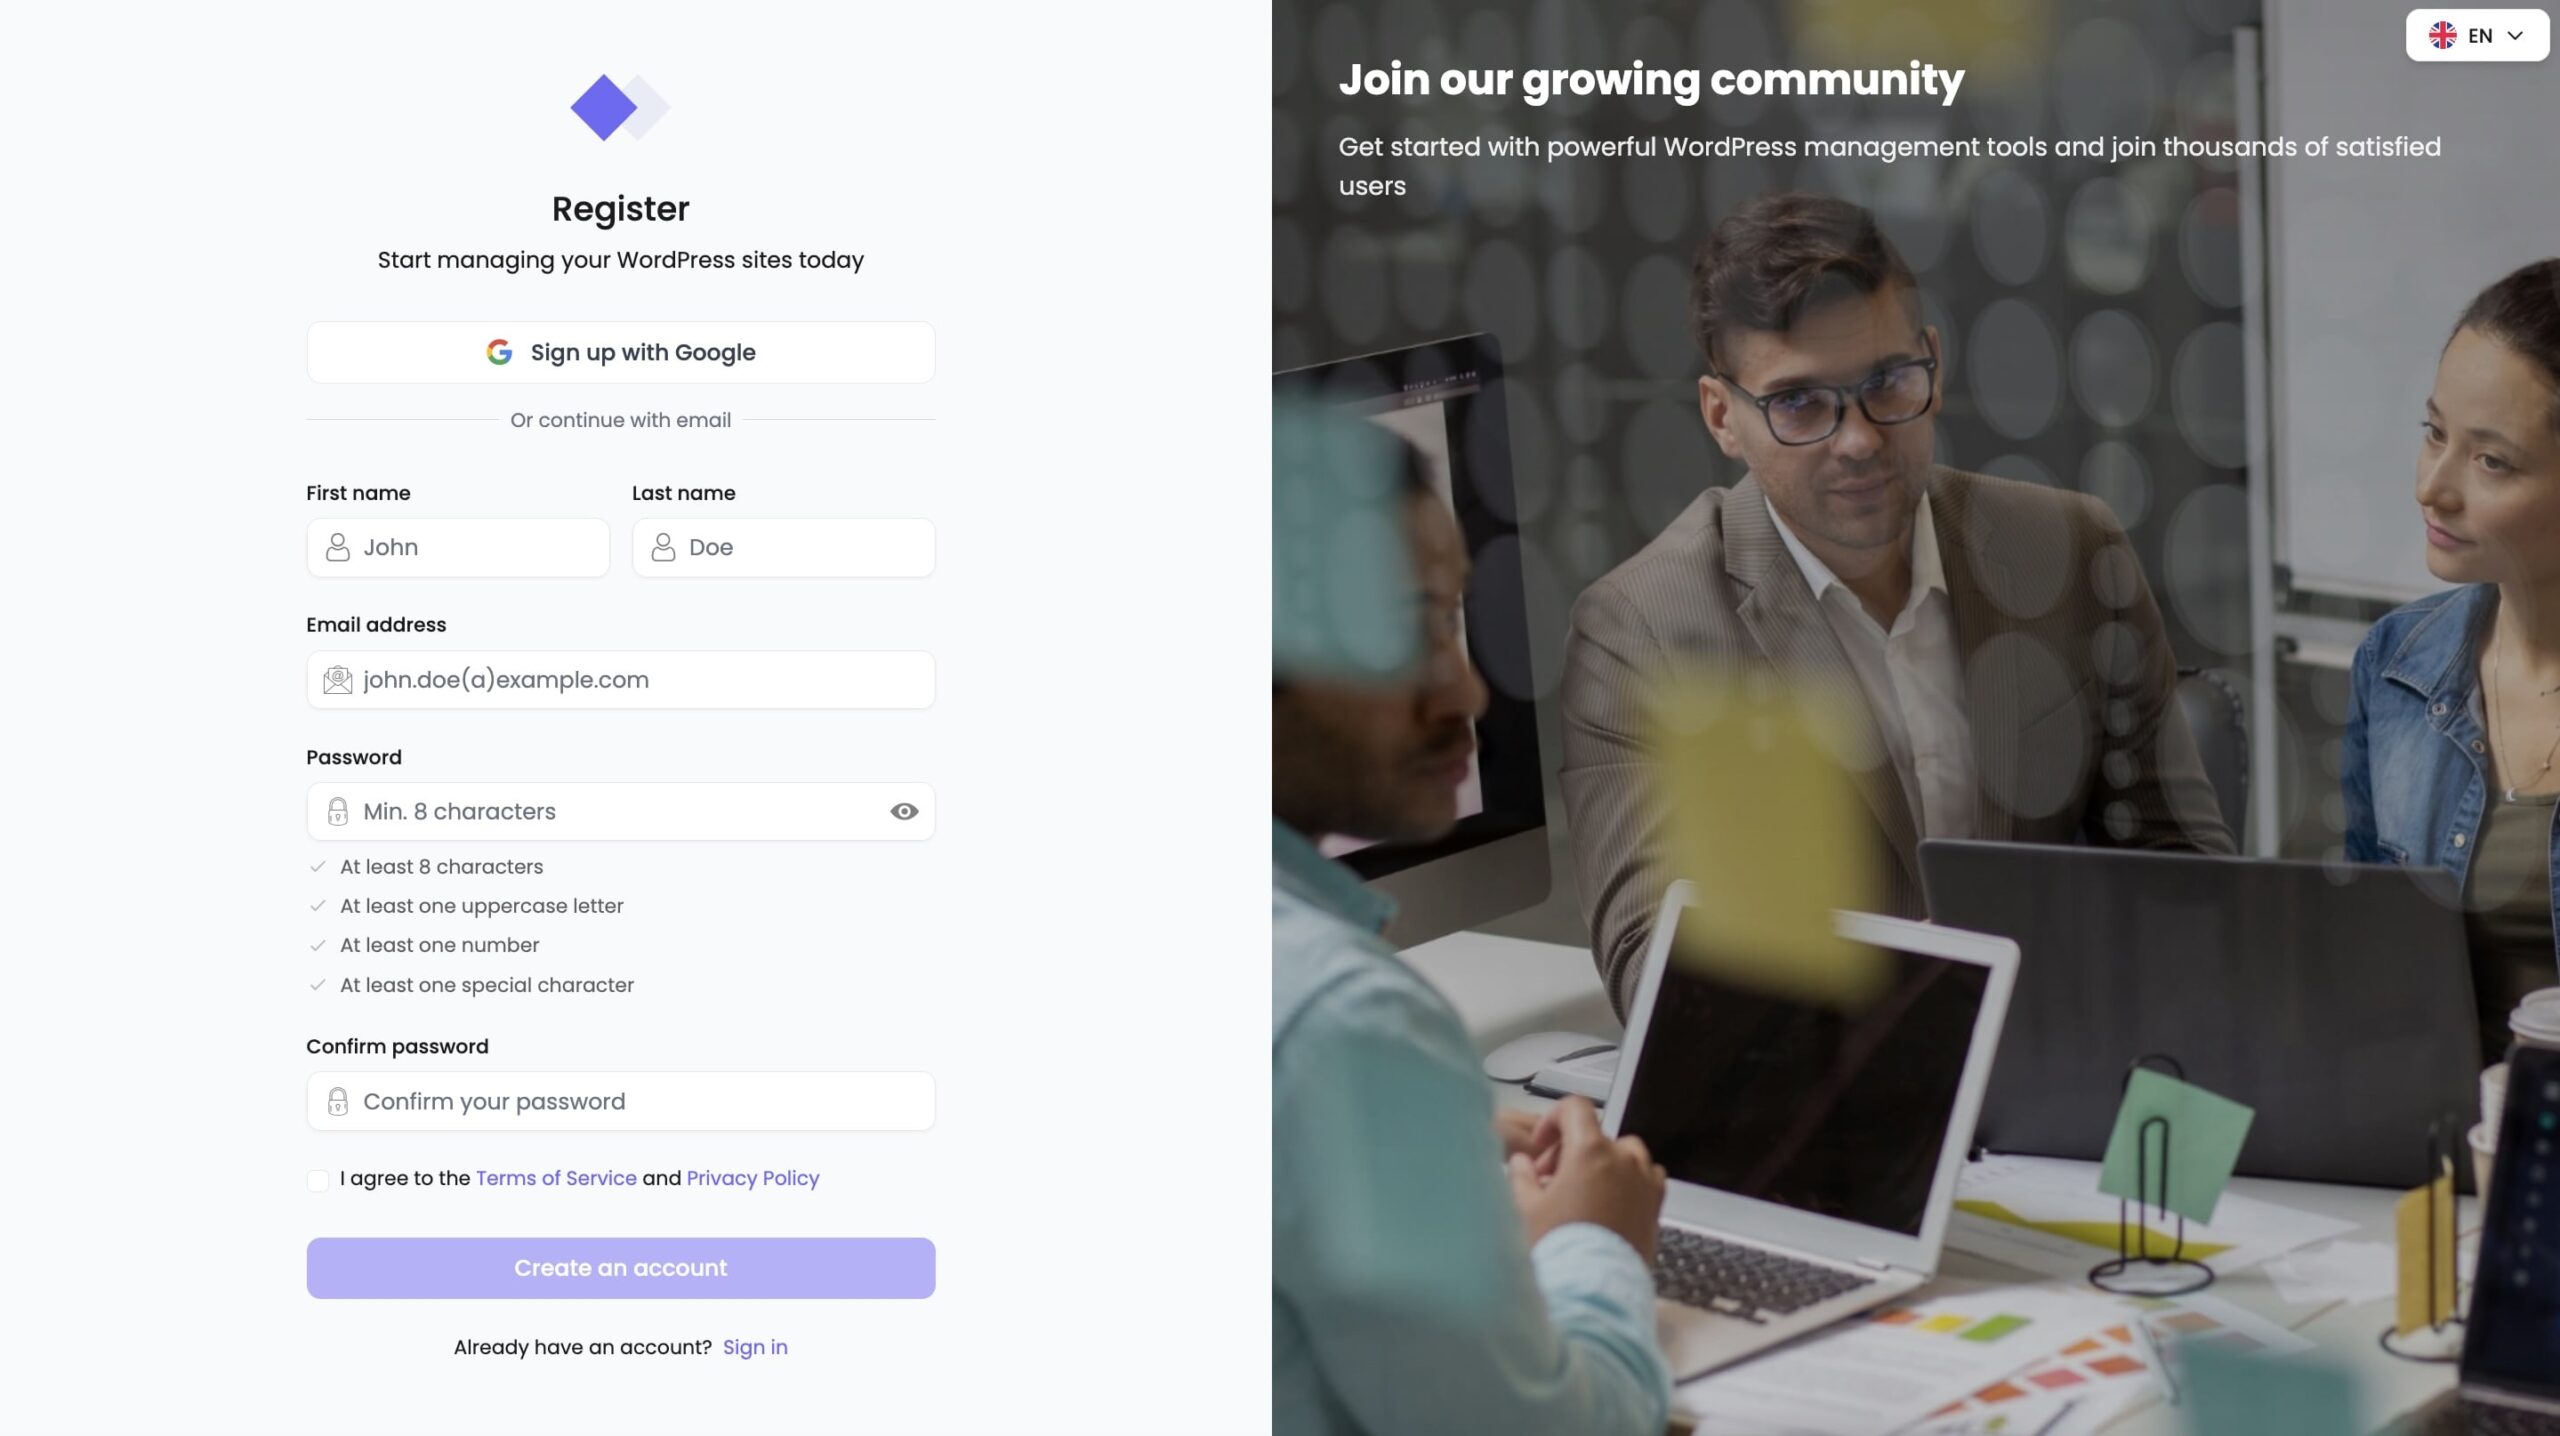
Screenshot - Registration form
7-day trial
Once registered, you automatically get a 7-day free trial period to discover all features without any commitment.
At the end of the trial period, monthly payment will begin automatically.
How to add a site?
To add a site to your NexaWP Manager dashboard, you need to download and install the NexaWP Connector plugin.
- Download the NexaWP Connector plugin
- Install it on your WordPress site
- Activate the plugin
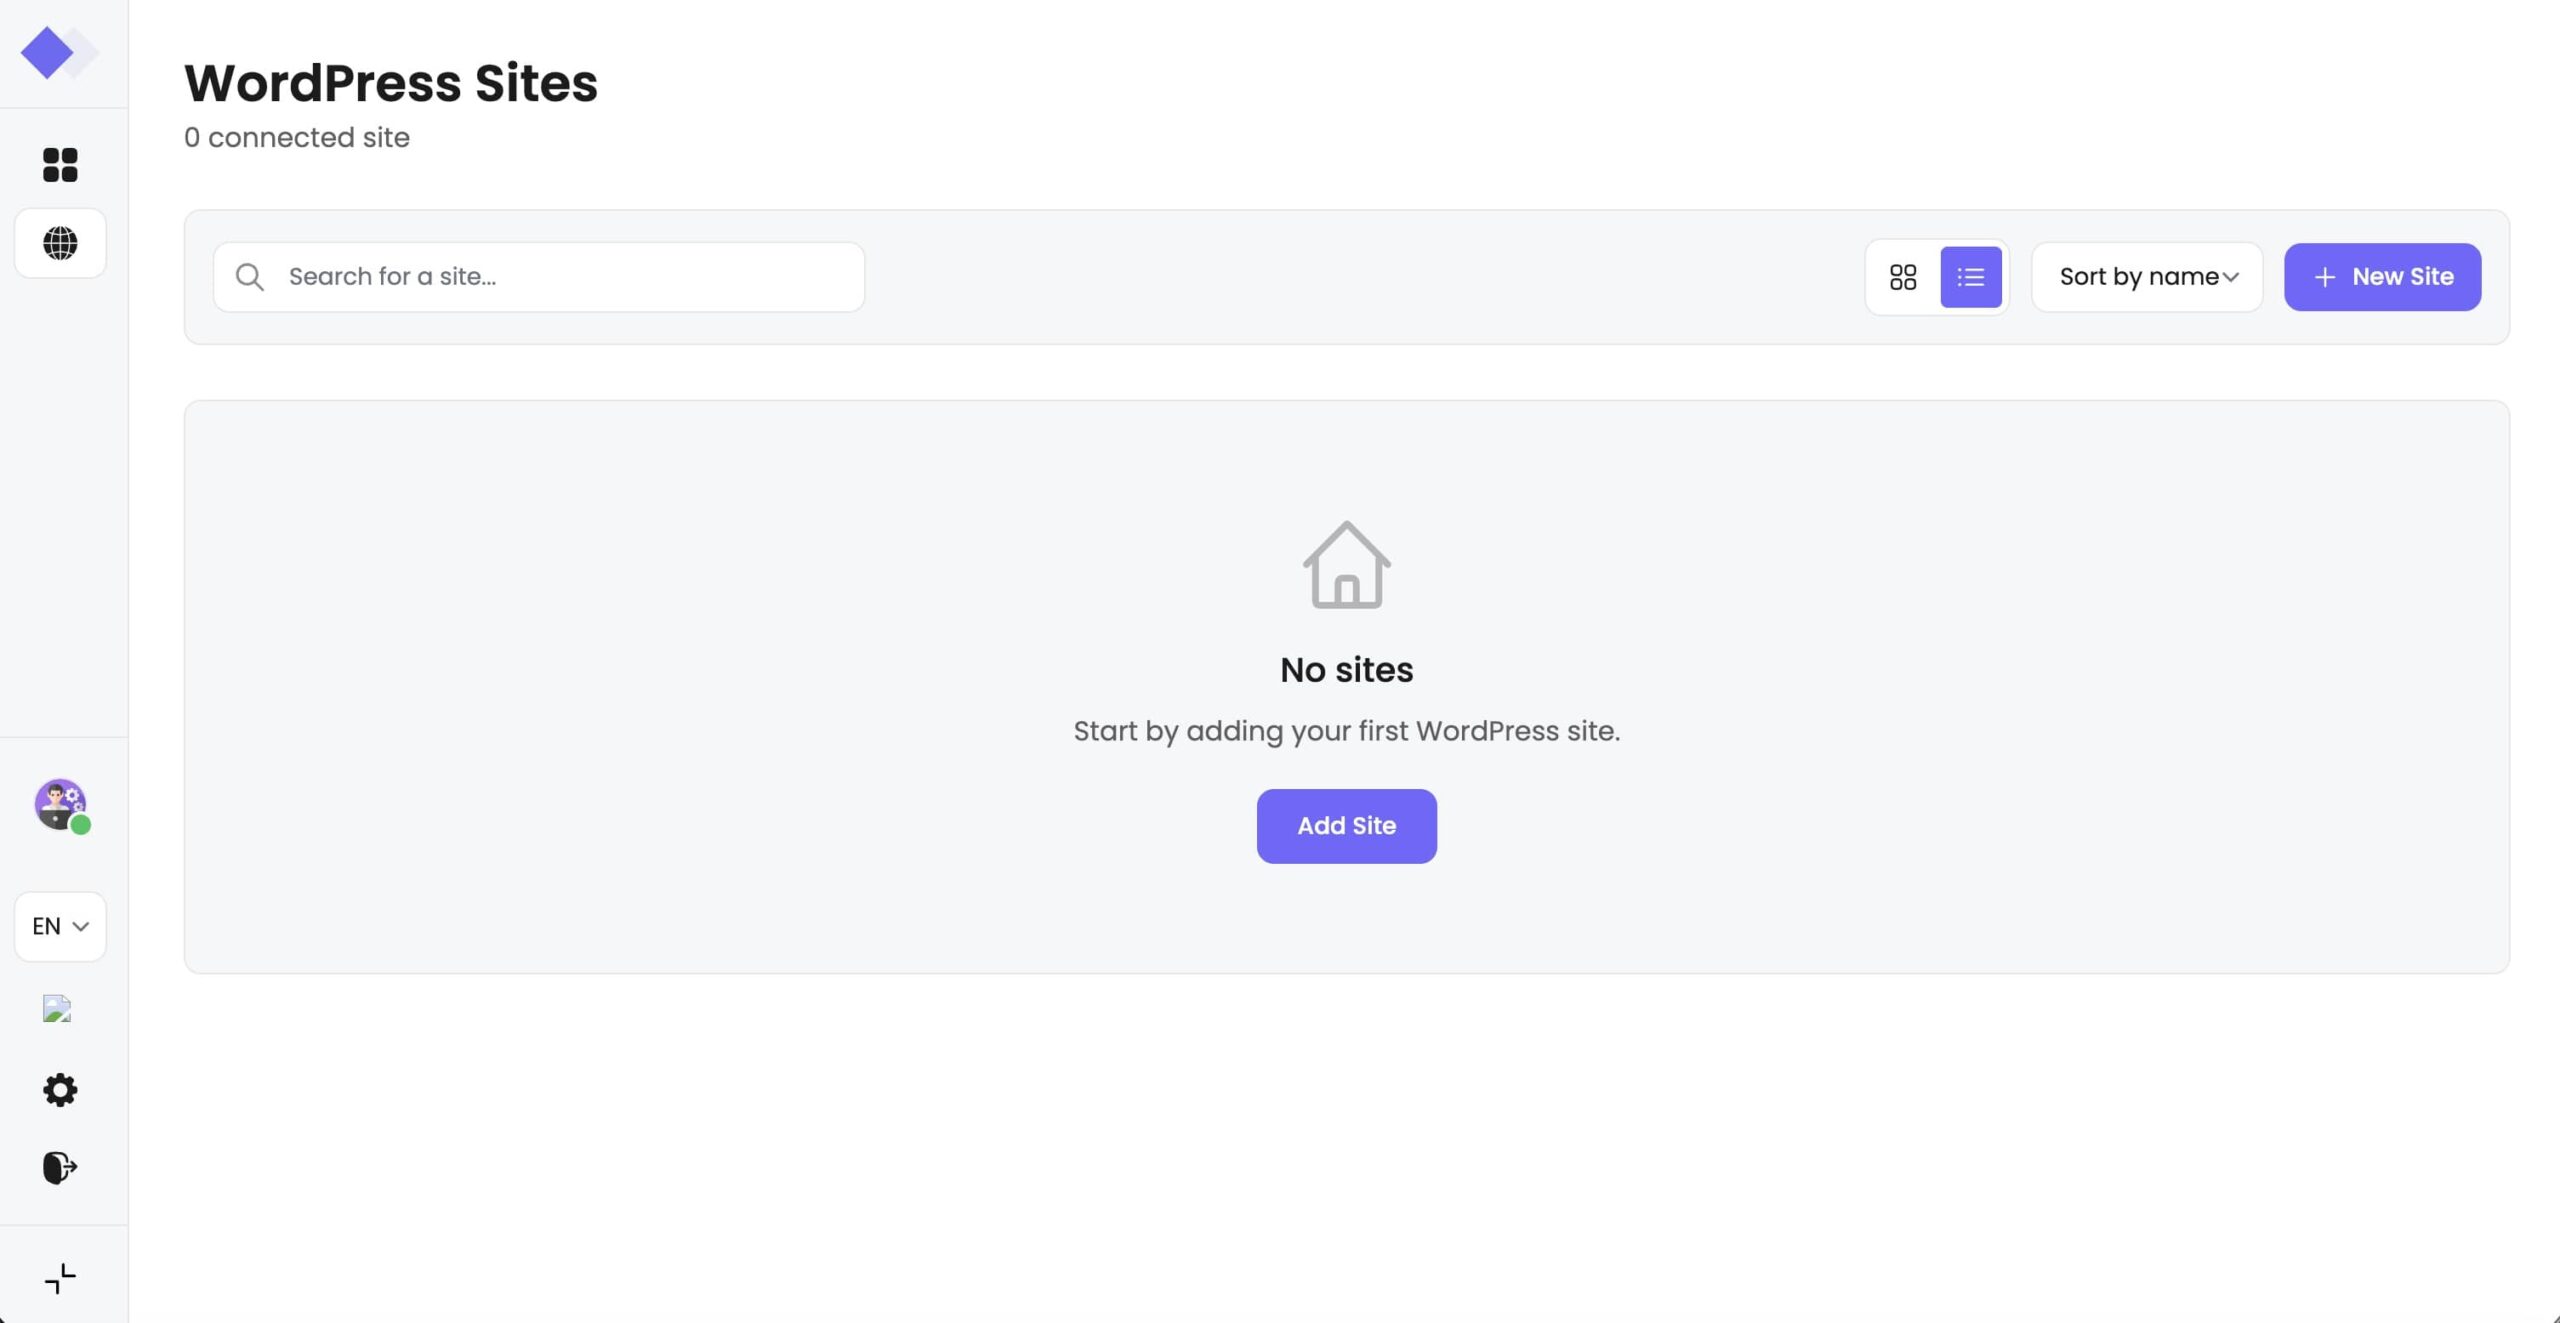
Screenshot - Add site
I've installed NexaWP Connector, what now?
Once the module is installed on the WordPress site you want to add, follow these steps:
- In NexaWP Manager, click "Add a site" and copy the connection token
- Paste this token into the NexaWP Connector plugin settings on the site
- The site appears in your dashboard and synchronises in the background
- Repeat the process for each site
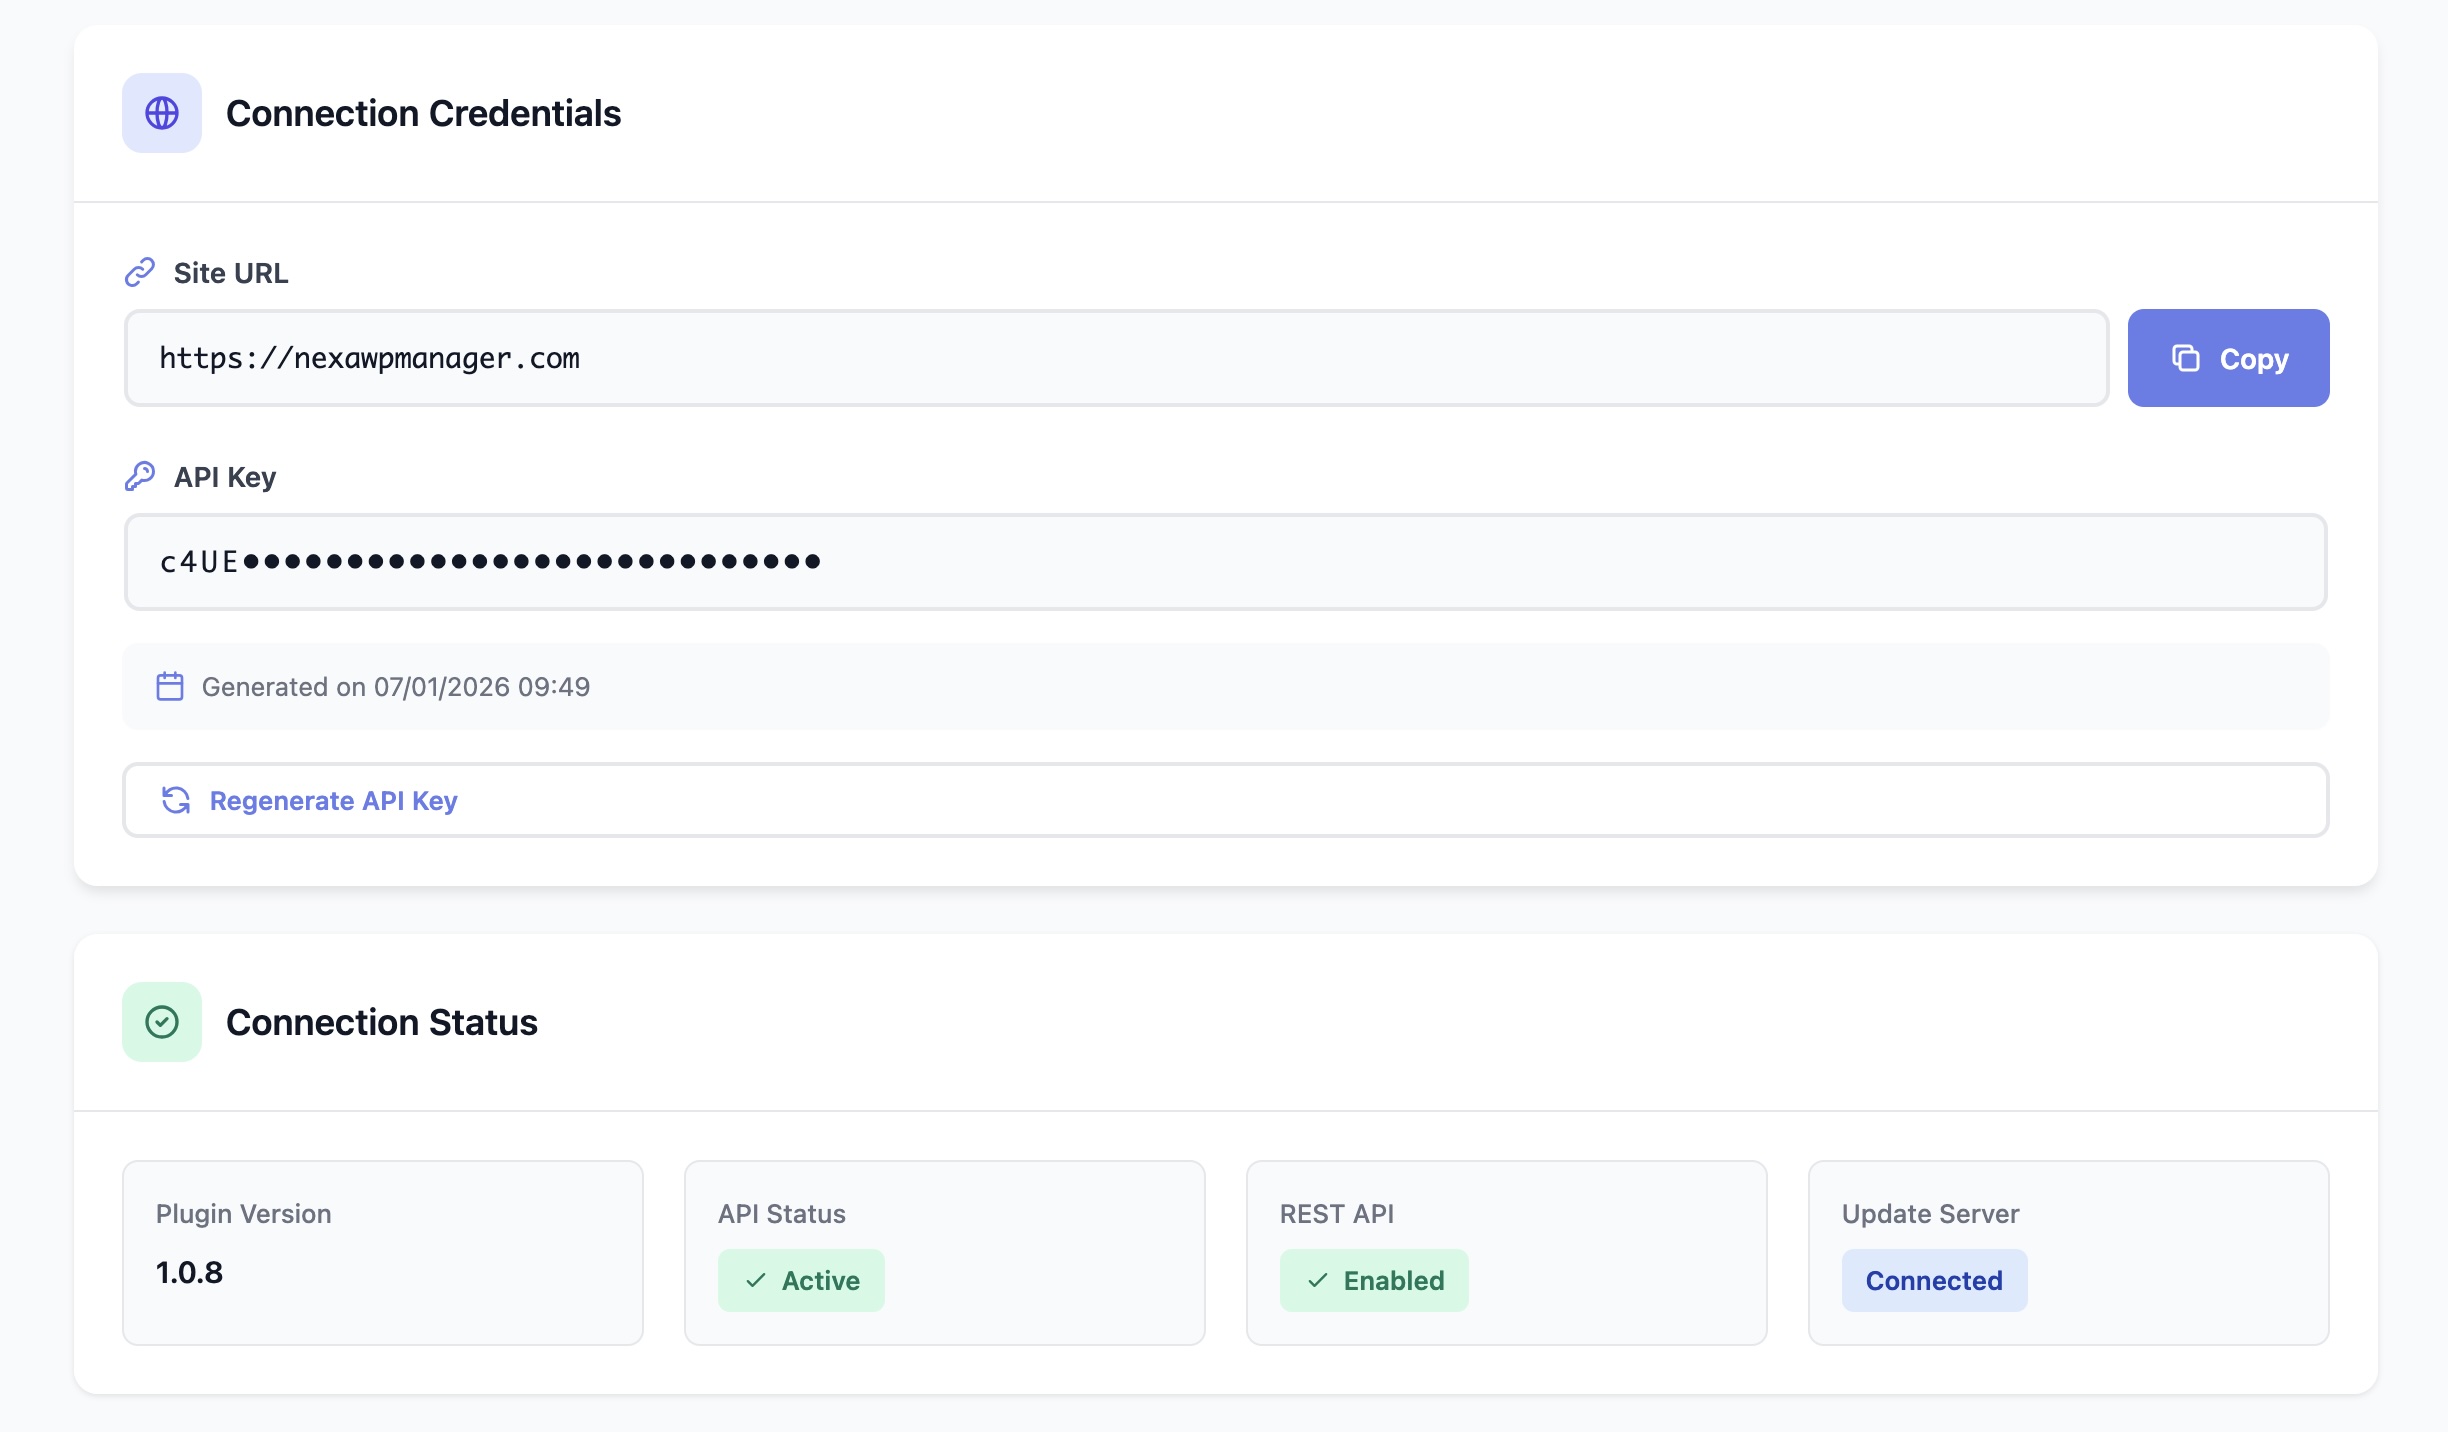
Screenshot - Connection token
Site connected!
Your site is now connected and you can start managing it from your dashboard.
Ready to start?
Simplify your WordPress sites management
Centralize the management of all your WordPress sites with NexaWP Manager.